This template includes pre-built animations you can apply to any element using custom attributes.
How to Add an Animation
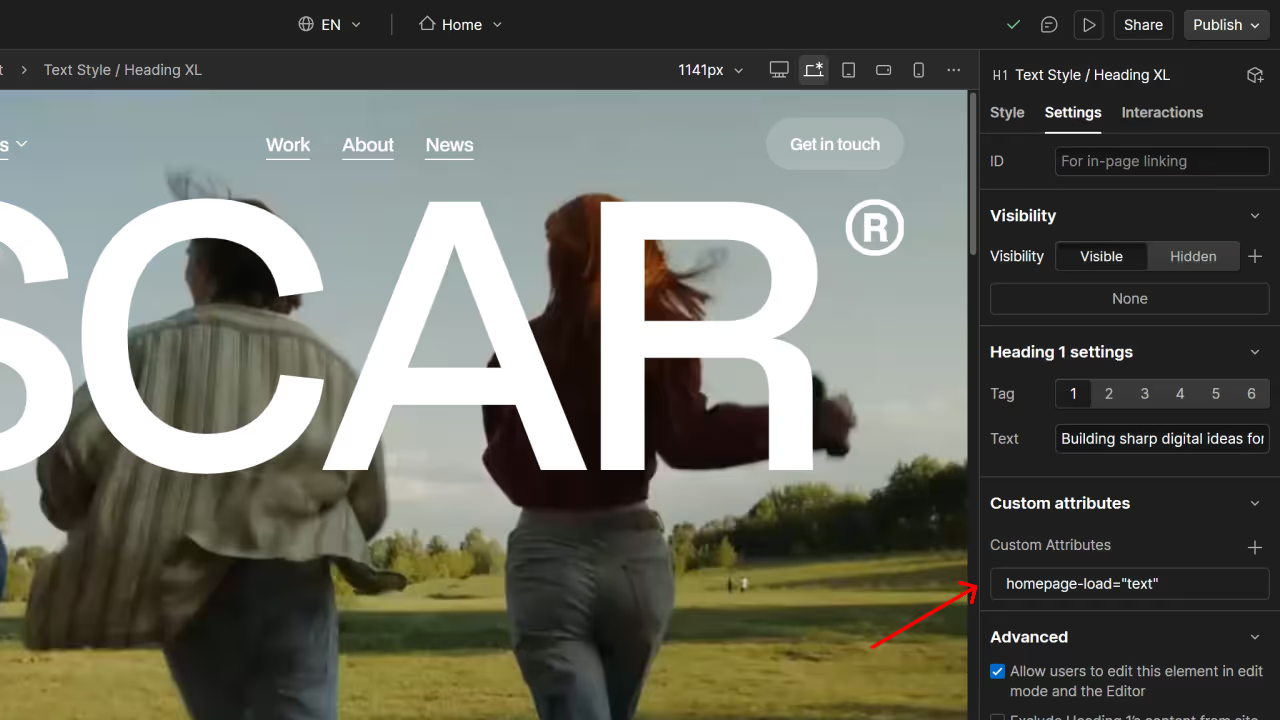
Select the element you want to animate
Open the Settings tab in the right sidebar
Scroll to Custom Attributes and click + Custom Attributes
Enter the attribute name (e.g., homepage-load-in)
Enter the value (e.g., text)
Press Enter
Done! Your element will now animate.
How to Find Available Animations
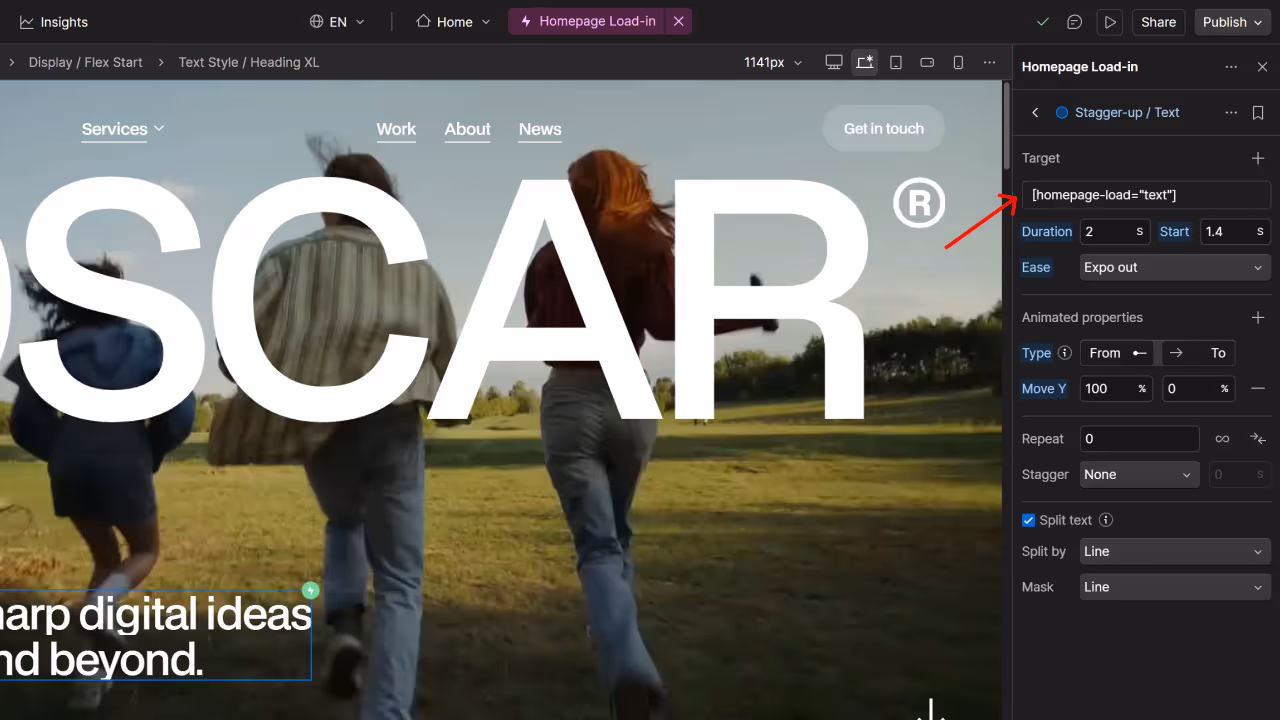
To see which animations are available, look at existing animated elements in the template and copy their custom attribute names to your new elements.
Pro Tips
Exact spelling required: Attribute names must match exactly, including dashes and lowercase letters.
Wrong tab? Make sure you're in Settings, not Style or Interactions.
Want to remove an animation? Just delete the custom attribute.
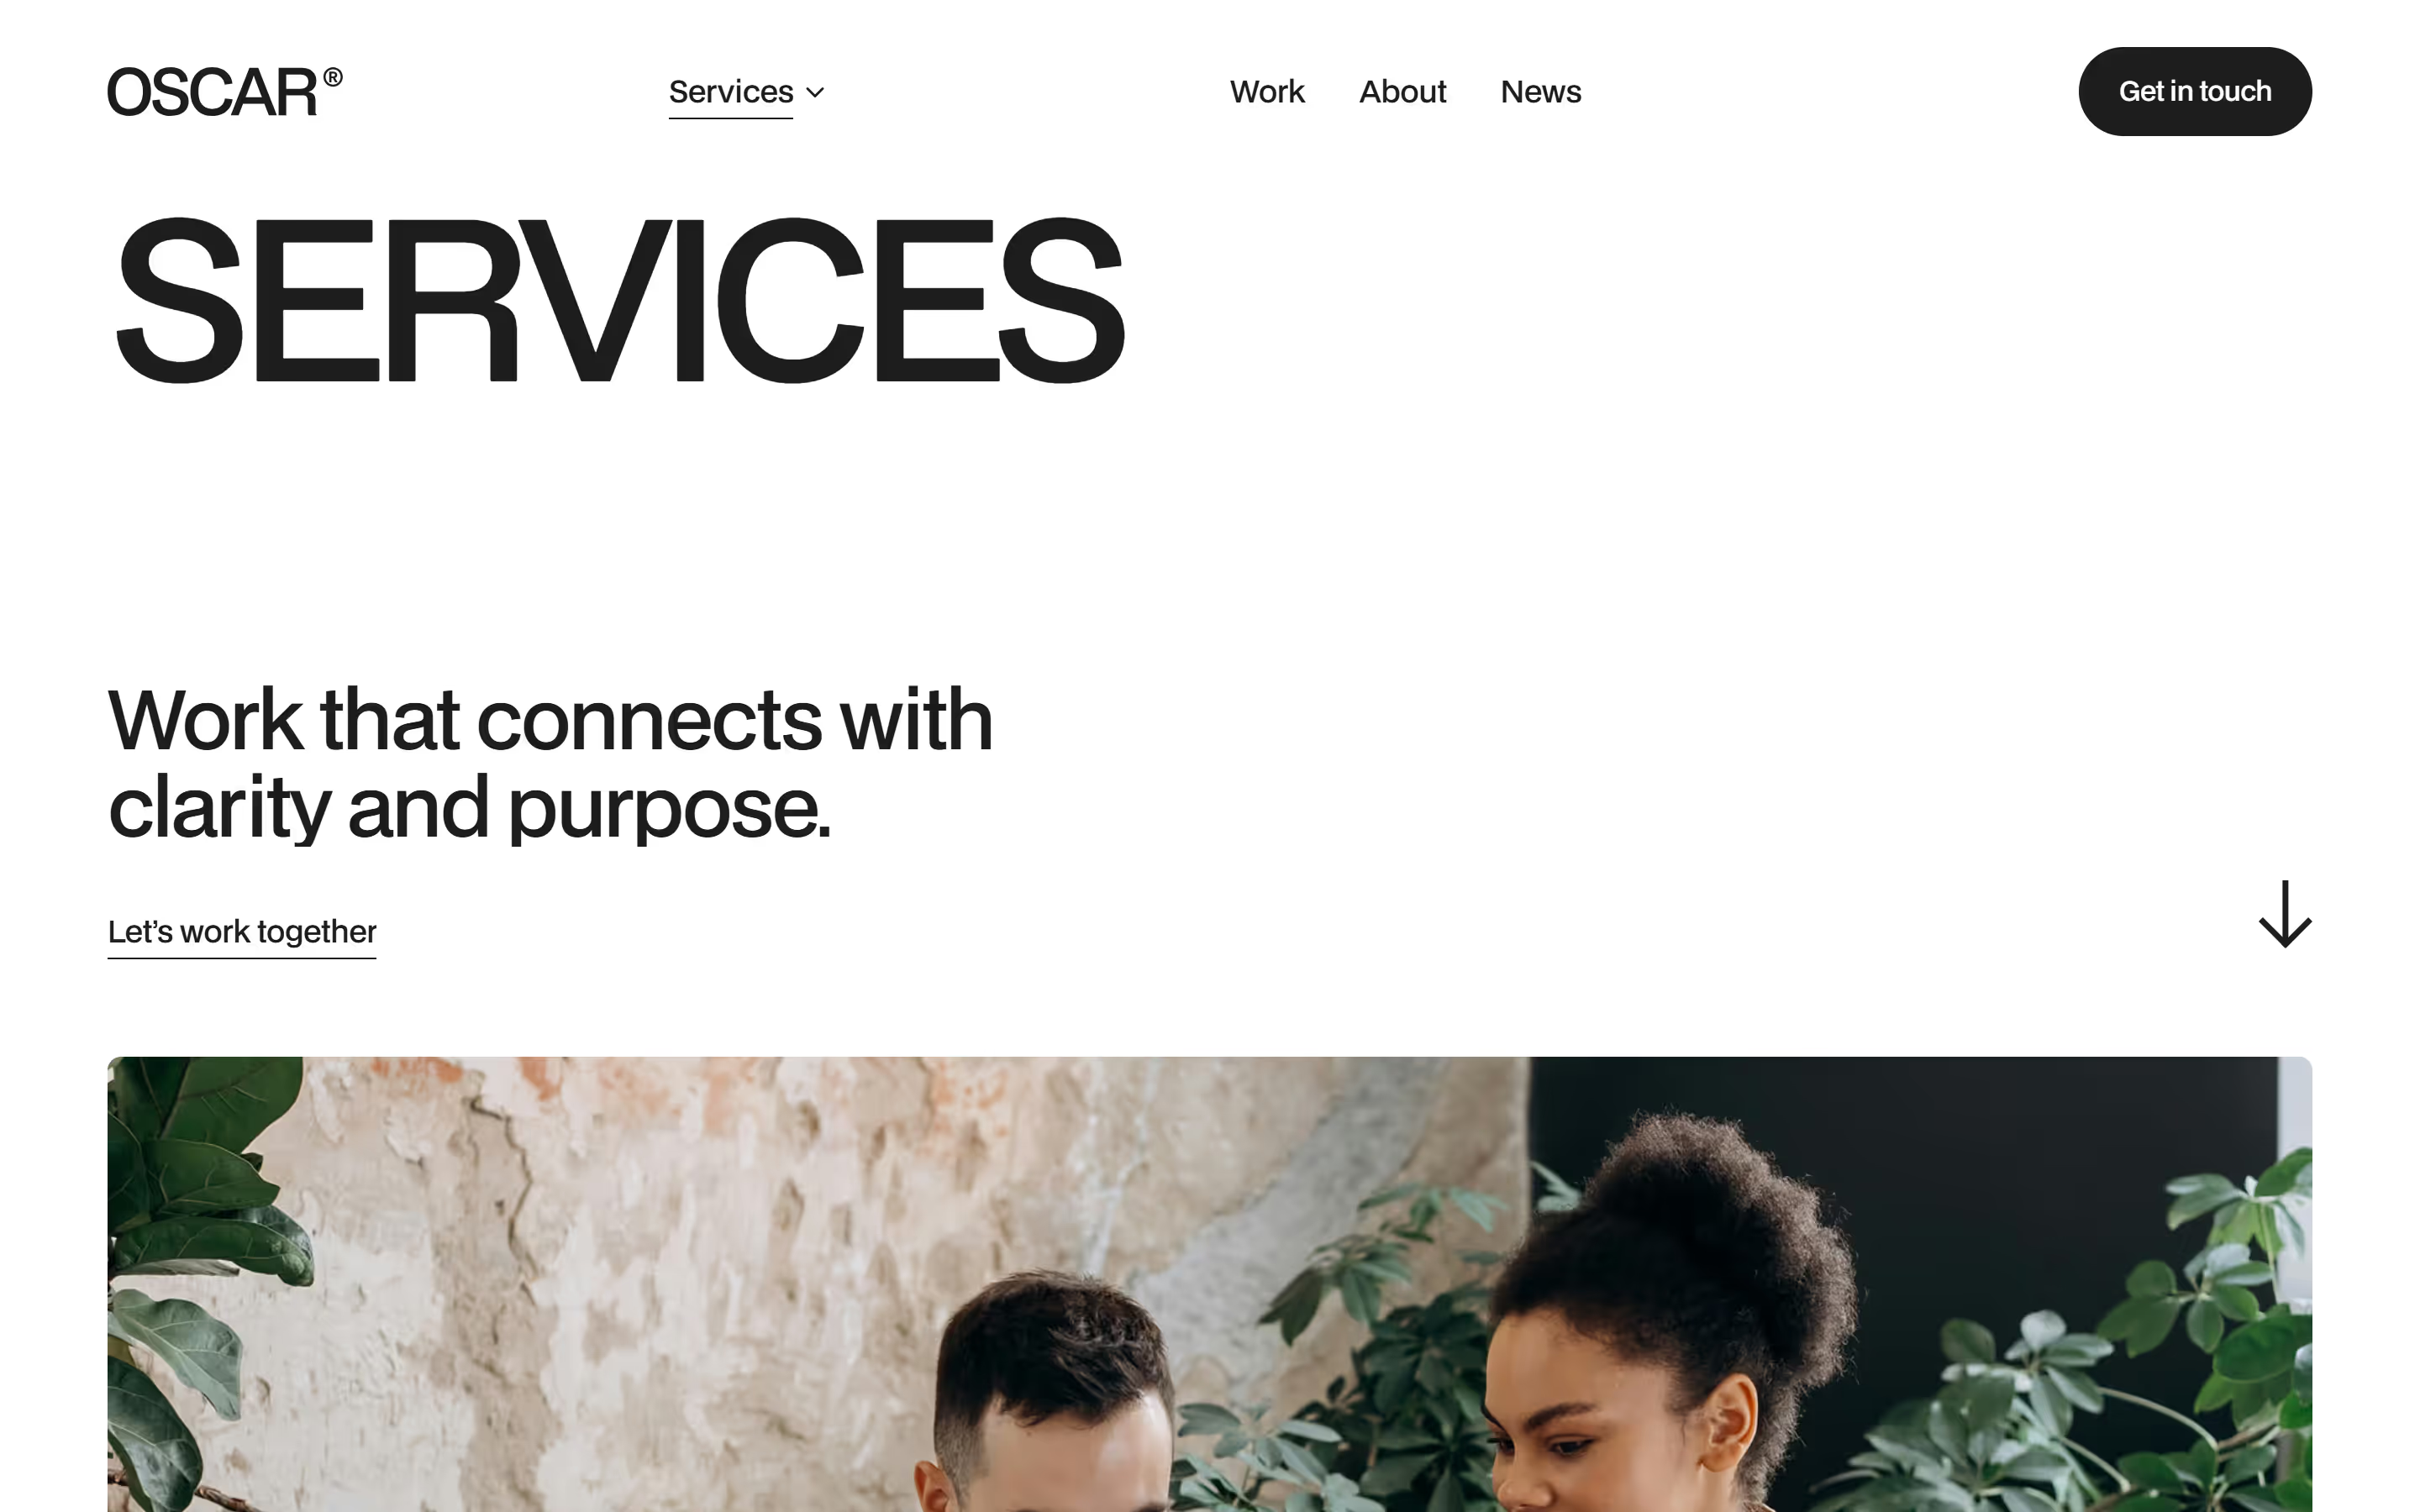
How to Modify the Homepage Hero Brand Display
The homepage hero features a large brand display with two options: animated text letters or a logo image. Both options include pre-built animations.
Choosing Your Display Style
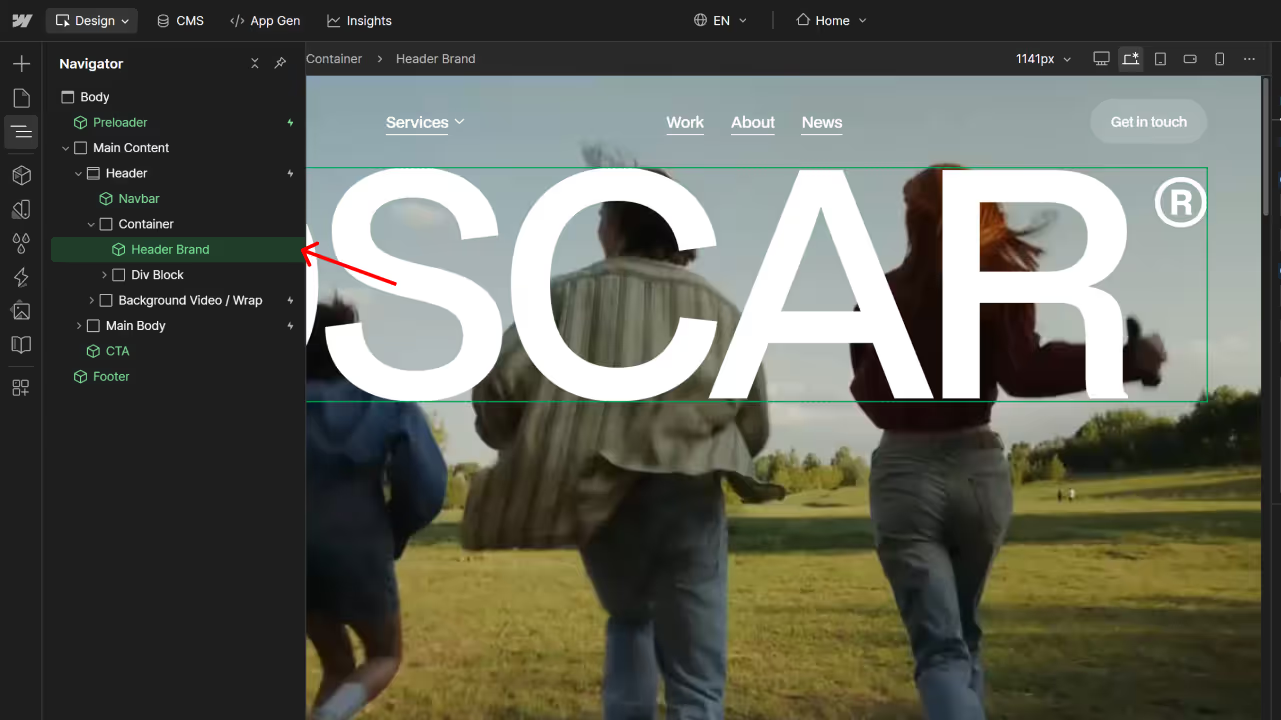
Step 1: Navigate to Header Brand
Open the Navigator panel (left sidebar)
Expand Header → Container
Select Header Brand
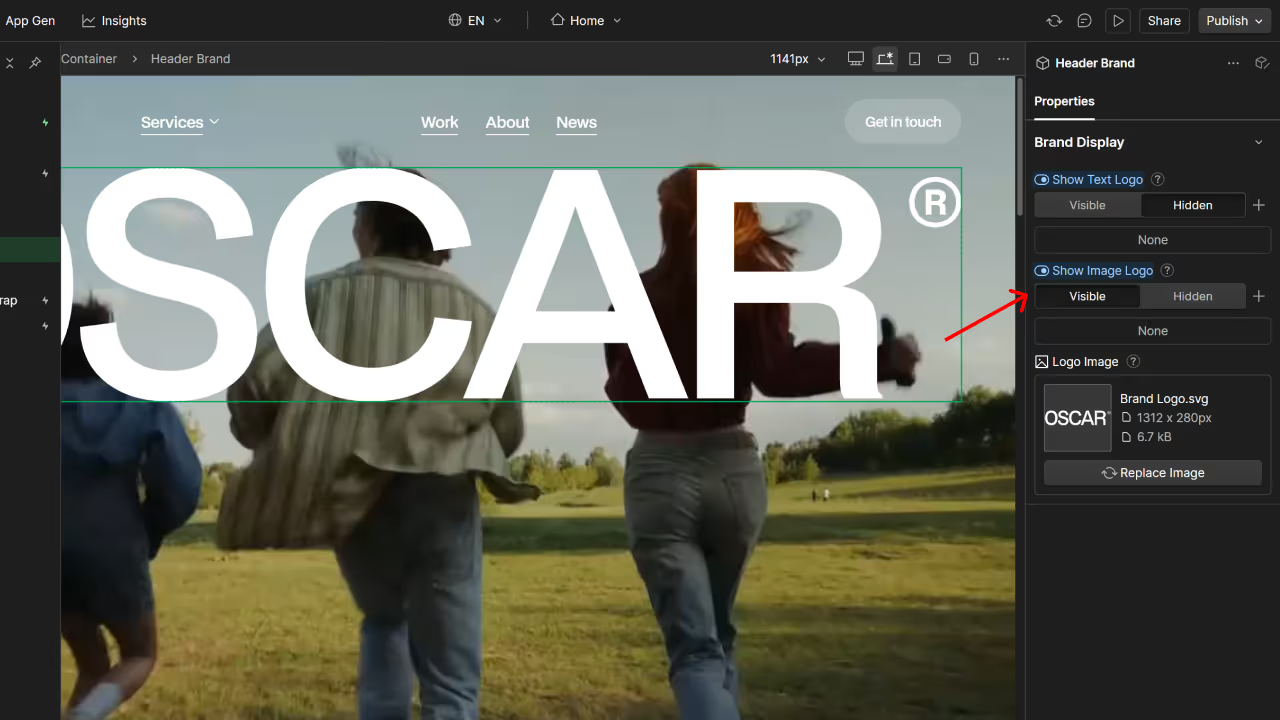
Step 2: Choose Text or Image
In the Properties panel on the right, you'll see two options:
Show Text Logo - Use this for animated text with a smooth letter stagger effect
Show Image Logo - Use this for a logo image with a fade-in animation
Toggle Visible or Hidden on each option to switch between them.
Option 1: Using Text Display
Edit Your Text
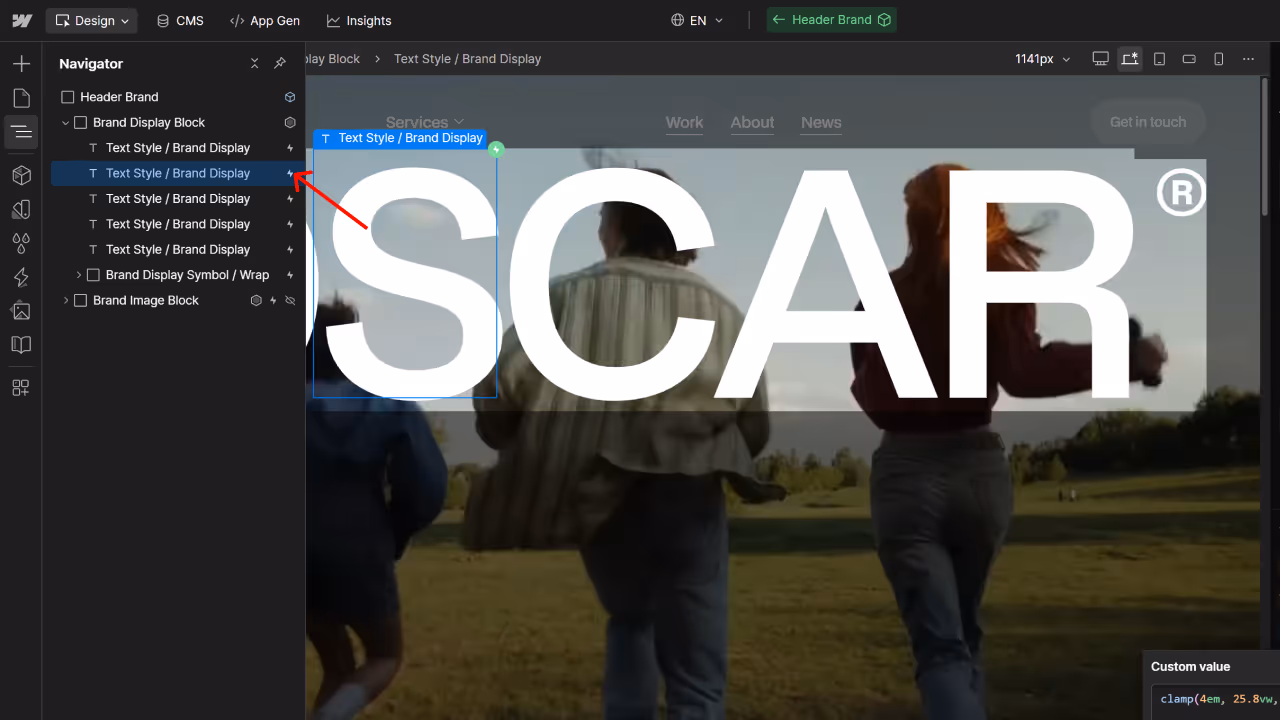
In the Navigator, expand Brand Display Block under Header Brand
You'll see individual Text Style / Brand Display elements (one for each letter)
Click each text element and change the letter to spell out your brand name
Add or remove text elements as needed for your brand
Adjust Text Size
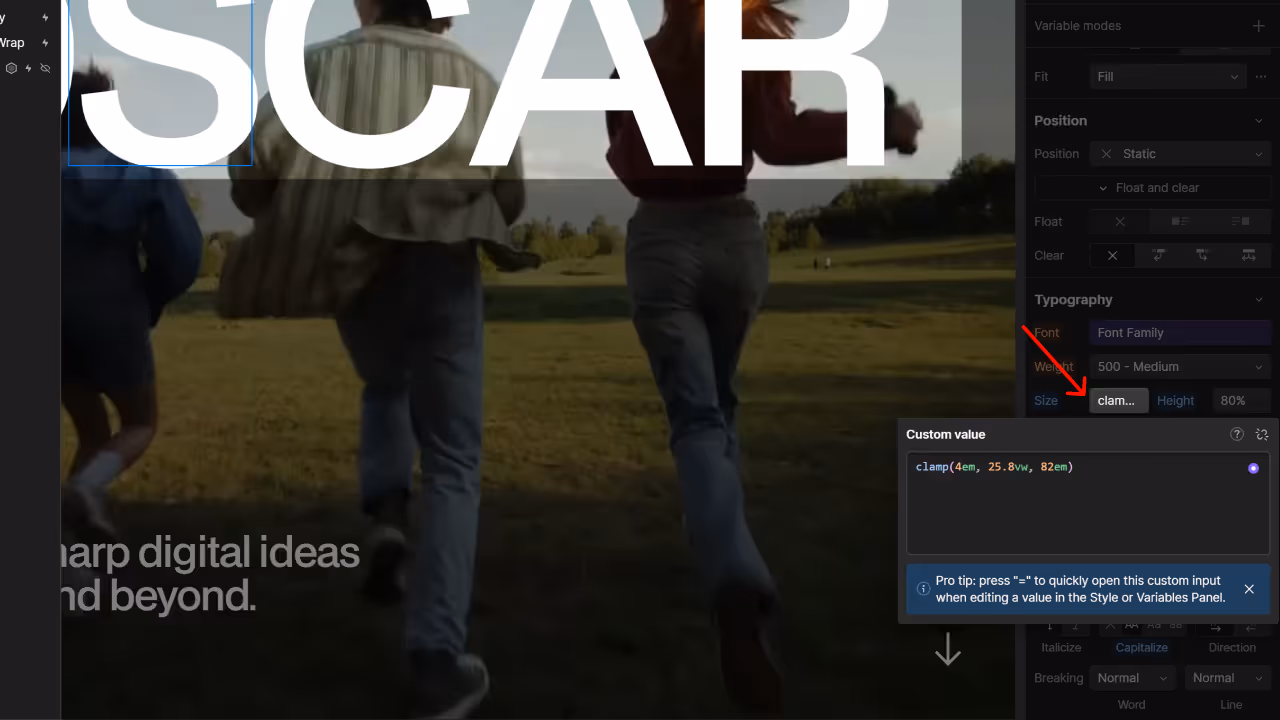
Select any Text Style / Brand Display element
In the Style panel, find Typography → Size
Look for the Custom value showing clamp(4em, 25.8vw, 82em)
Modify the middle value (25.8vw) carefully until the text fills the width of the screen
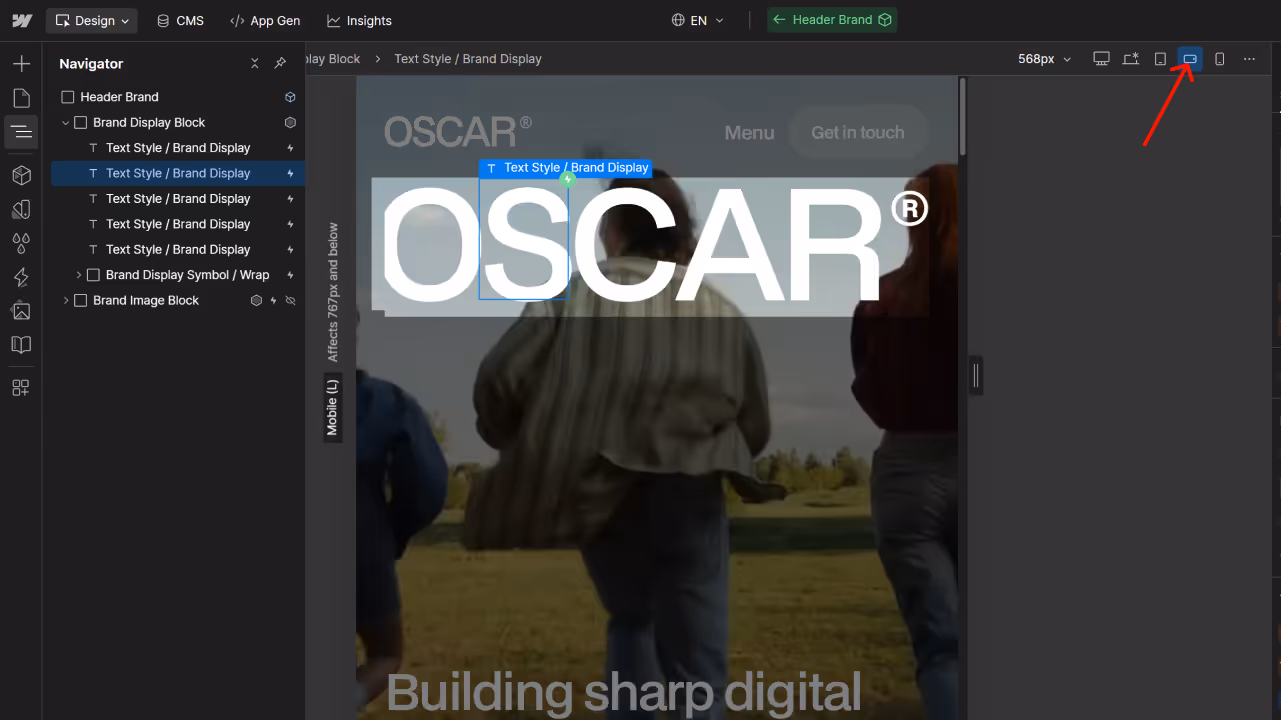
Optimize for Mobile Landscape
Switch to the Mobile Landscape breakpoint (top toolbar)
Select the text elements again
Adjust the same vw value in the custom clamp() until the text fills the container on mobile
Option 2: Using Image Display
If you chose Show Image Logo in Step 2:
Select Header Brand in the Navigator
In the Properties panel, scroll to Logo Image
Click Replace Image to upload your logo
The animation is already set up and ready to go
Pro Tips
Text fills the screen best: When using text display, the animation looks best when letters stretch across the full width. Adjust the vw value incrementally (try 0.5vw changes) until it's perfect.
Test both breakpoints: Always check desktop and mobile landscape to ensure the text scales properly on all devices.
Letter-by-letter precision: Each letter is its own element, giving you complete control over spacing and animation timing.
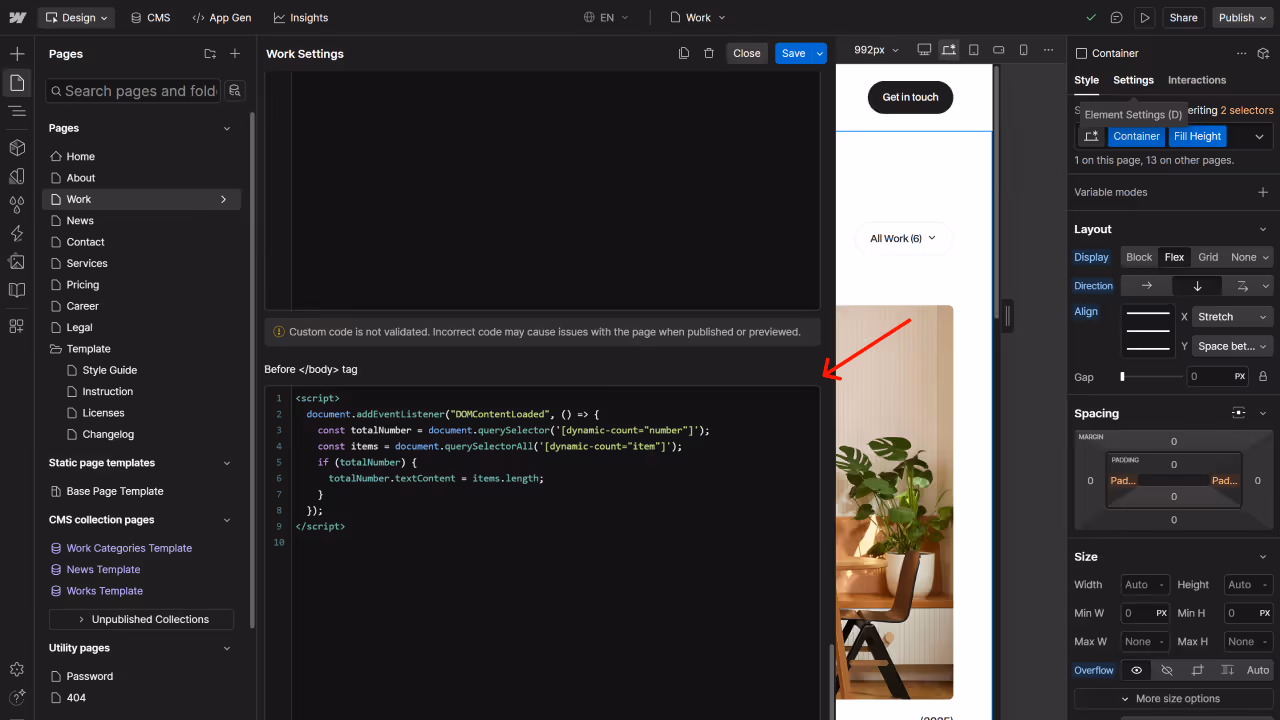
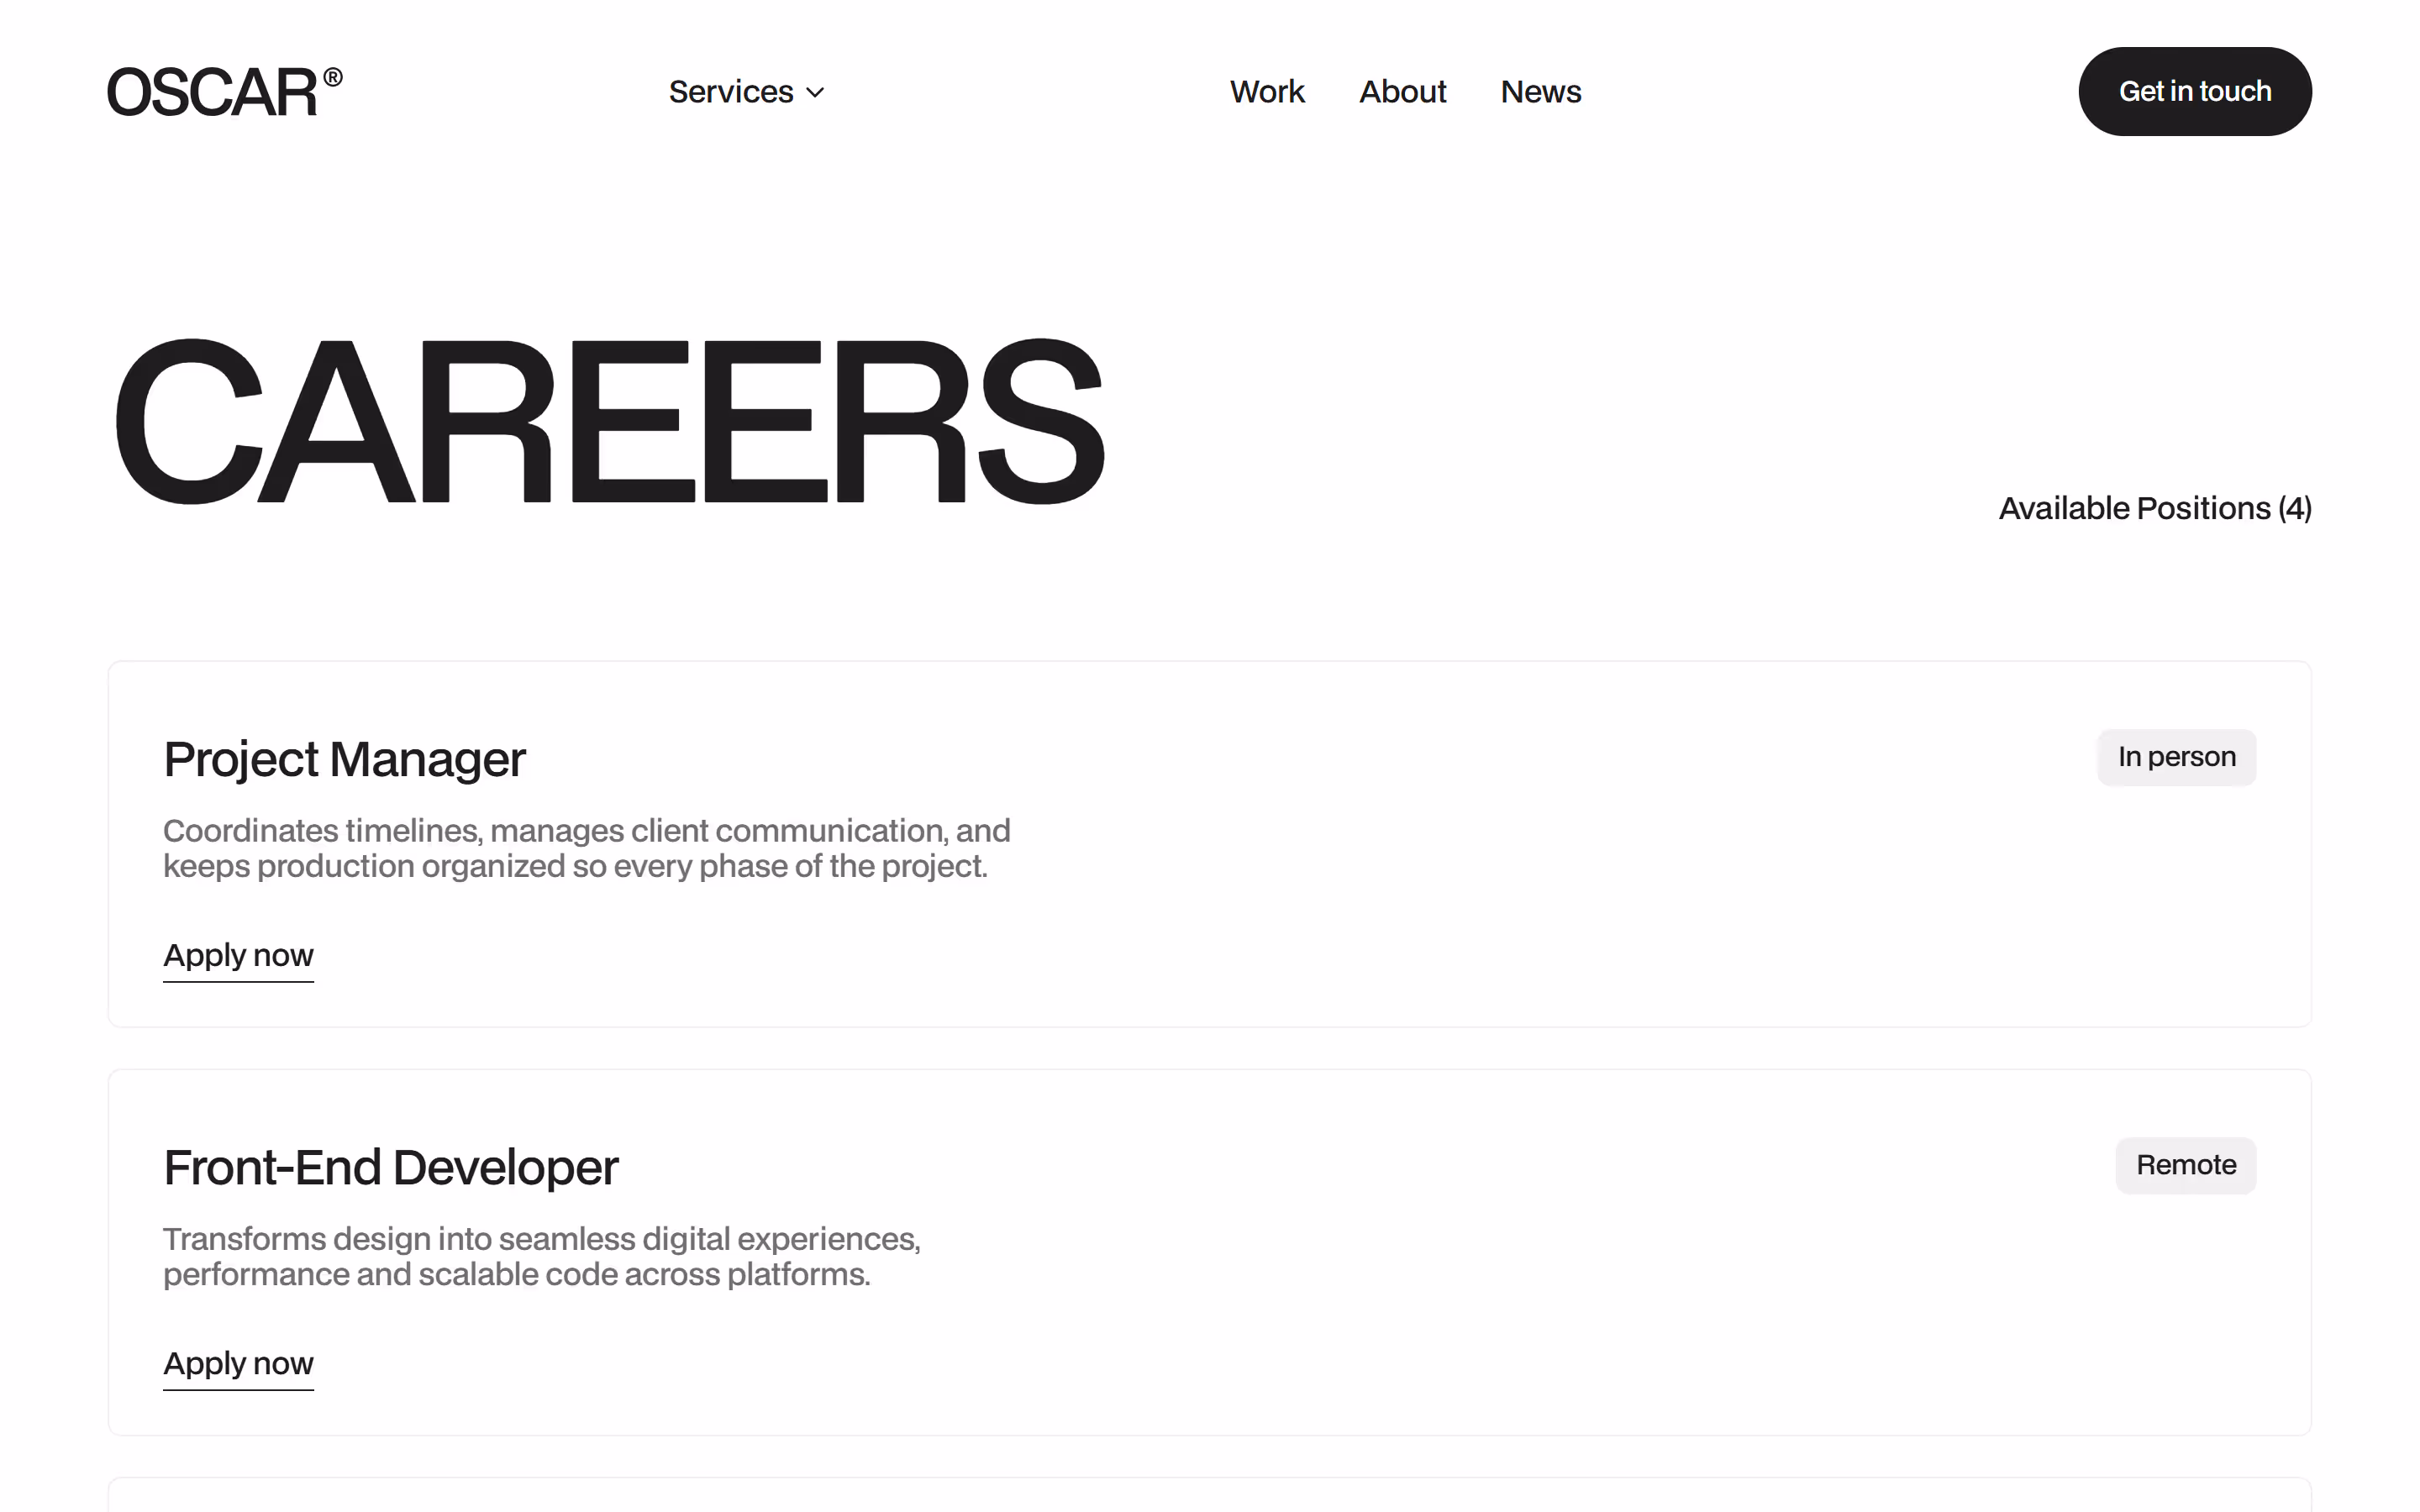
How to Make CMS Count Dynamic
This template includes code that automatically counts and displays the number of CMS items on a page (like "All Work (5)").
How to Set It Up
Step 1: Add the Code to Your Page
Go to Pages in the left sidebar
Select the page you want to add the count to (e.g., Work page)
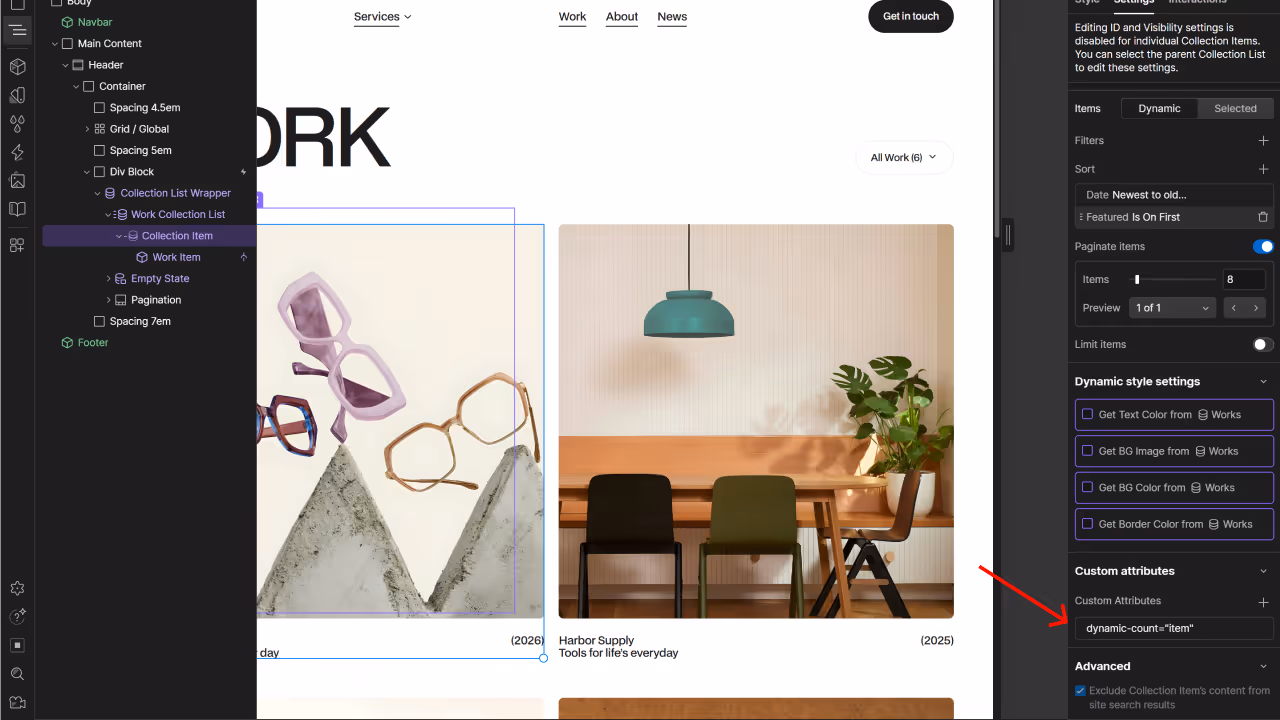
In the Navigator, select the Collection Item inside your Collection List
Open the Settings tab in the right sidebar
Scroll to Custom Attributes and click + Custom Attributes
Enter the name: dynamic-count
Enter the value: item
Press Enter
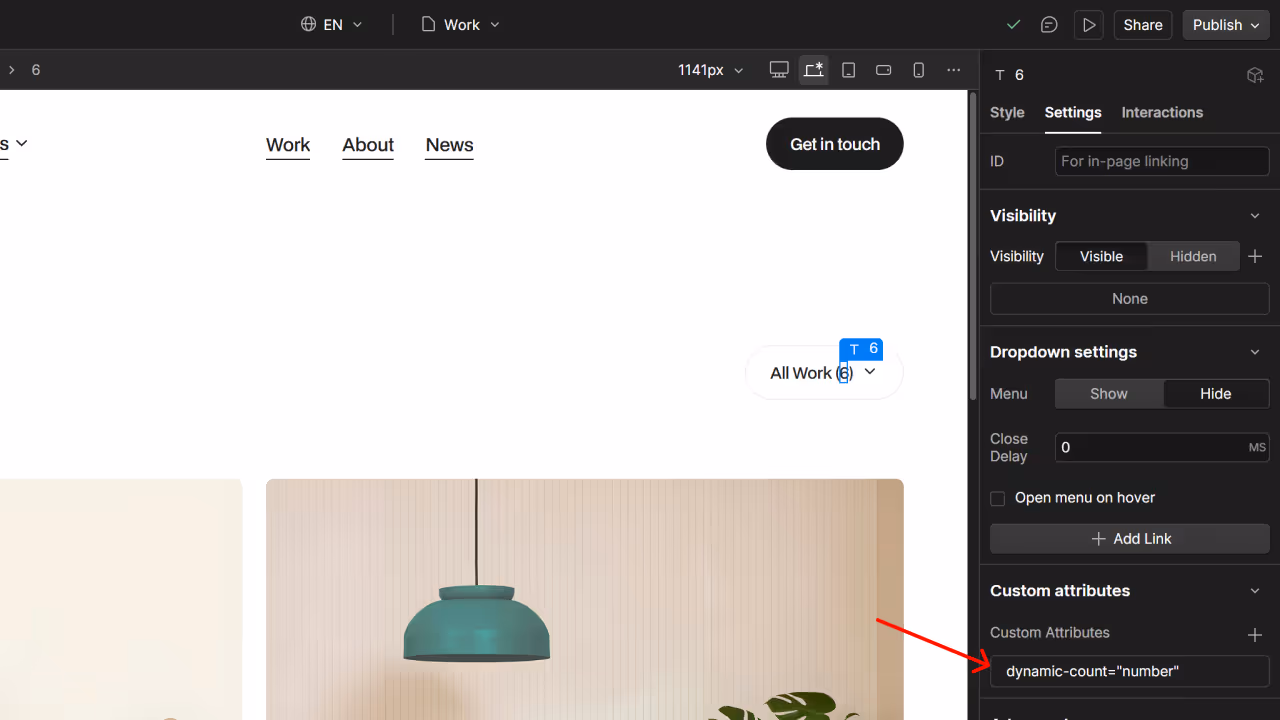
Step 3: Add the Number Display
Select the text element where you want the count number to appear (e.g., "All Work (5)")
Open the Settings tab
Scroll to Custom Attributes and click + Custom Attributes
Enter the name: dynamic-count
Enter the value: number
Press Enter
The count will now automatically update based on how many items are visible in your Collection List.
Pro Tips
Two attributes needed: You need dynamic-count="item" on the Collection Item AND dynamic-count="number" on the text where the count appears.
Not updating? Make sure the custom code is pasted in the correct page's settings, not the site-wide settings.
Filters and pagination: The count updates dynamically based on visible items, so it works with filters and pagination automatically.
How the Service Section Scroll Works
The Services page includes a scroll-triggered animation where each service block transitions smoothly as you scroll down the page.
How to Enable the Animation on New Blocks
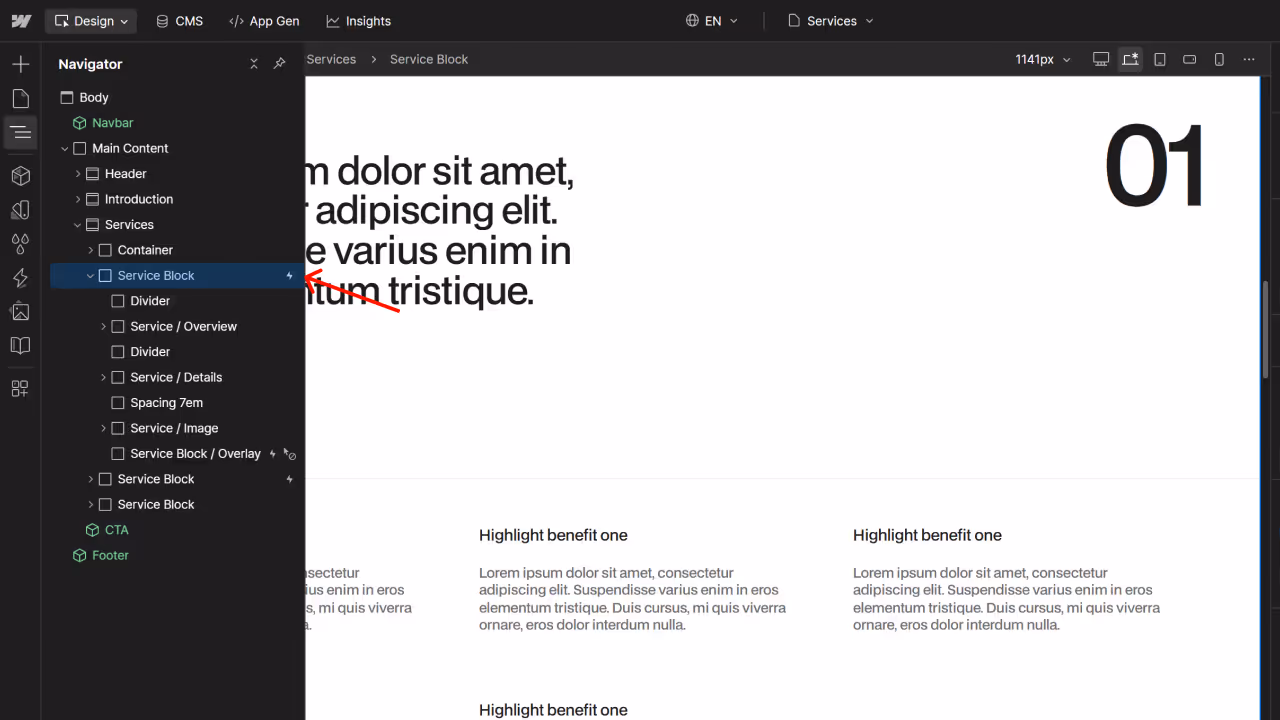
Step 1: Select the Service Block
Open the Navigator panel (left sidebar)
Find and select Service Block (the main container for each service section)
Step 2: Add the Custom Attribute
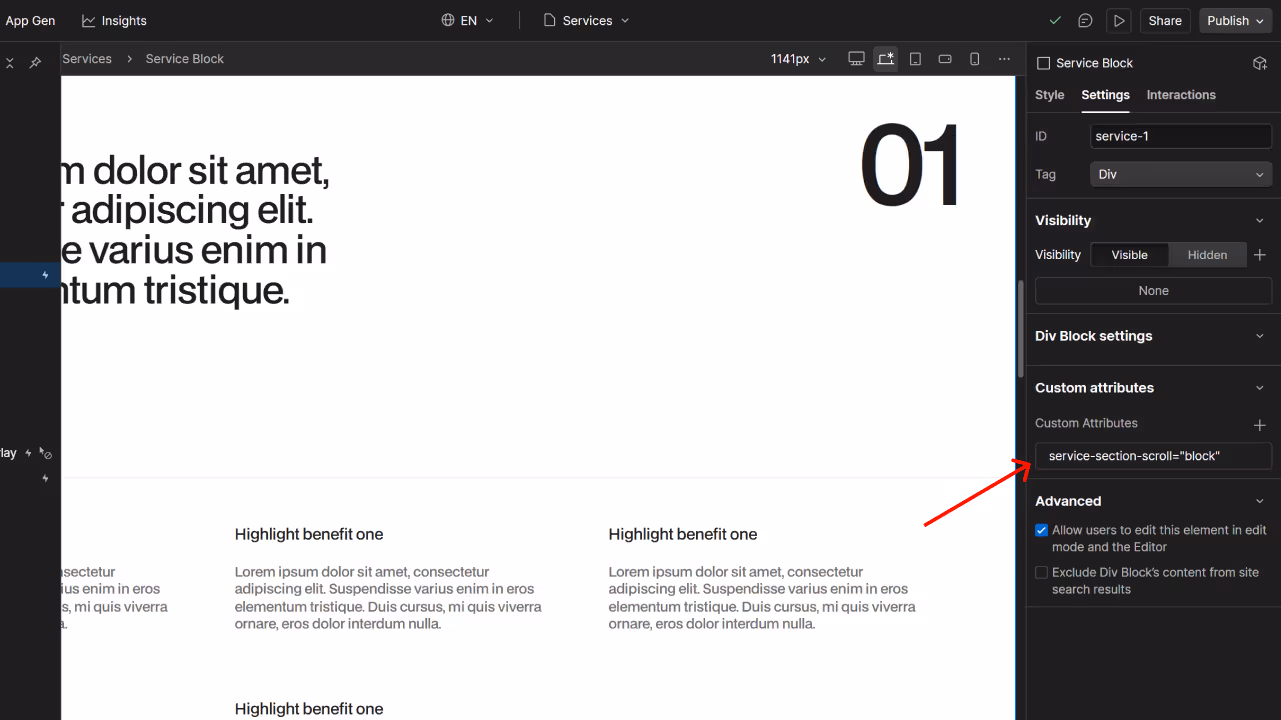
With the Service Block selected, open the Settings tab in the right sidebar
Scroll to Custom Attributes and click + Custom Attributes
Enter the name: service-section-scroll
Enter the value: block
Press Enter
Step 3: Apply to Multiple Blocks
Add this same attribute to every Service Block on the page except the very last one at the bottom. The bottom block doesn't need the animation since there's no next section to transition to.
Pro Tips
Why skip the last block? The scroll animation transitions between sections, so the final block doesn't need it.
Duplicating blocks? When you duplicate a Service Block that already has the attribute, it will automatically copy over just make sure to remove it from the last block if needed.
Animation not working? Double-check that the attribute is spelled exactly as shown: service-section-scroll="block"
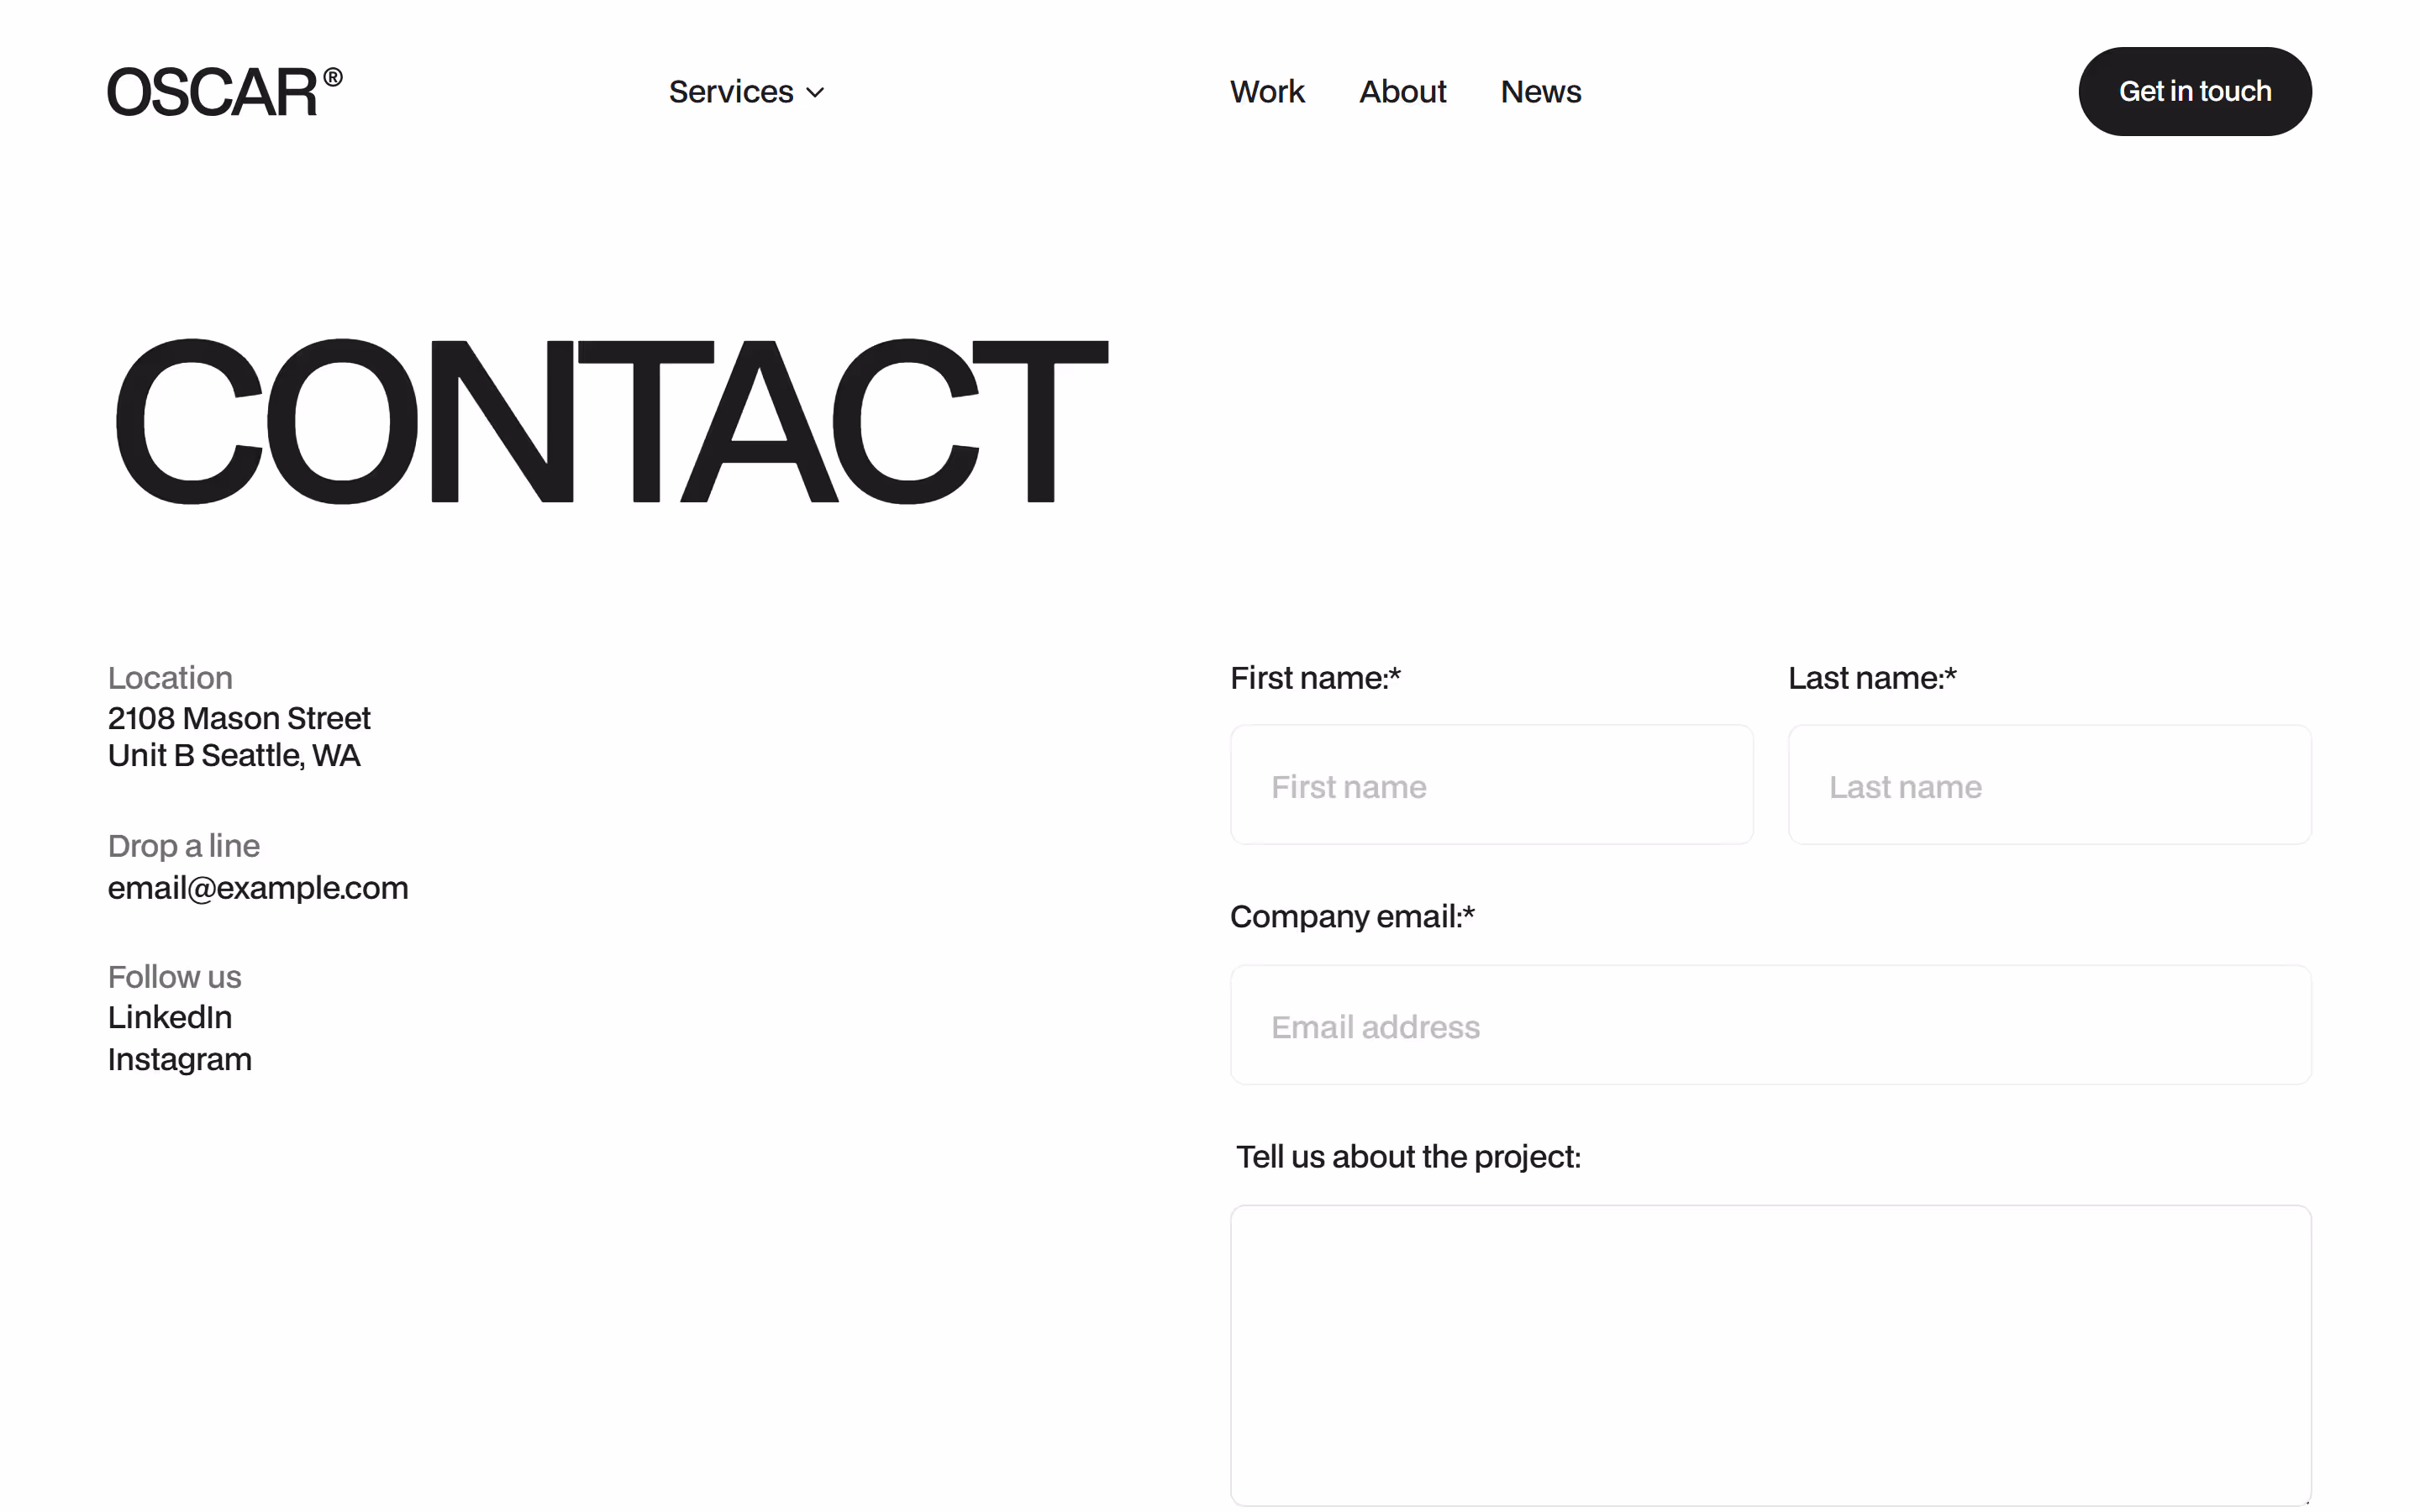
How to Modify Service Dropdown Links
The Services dropdown in the navigation includes anchor links that jump to specific service sections on the Services page. Here's how to customize them.
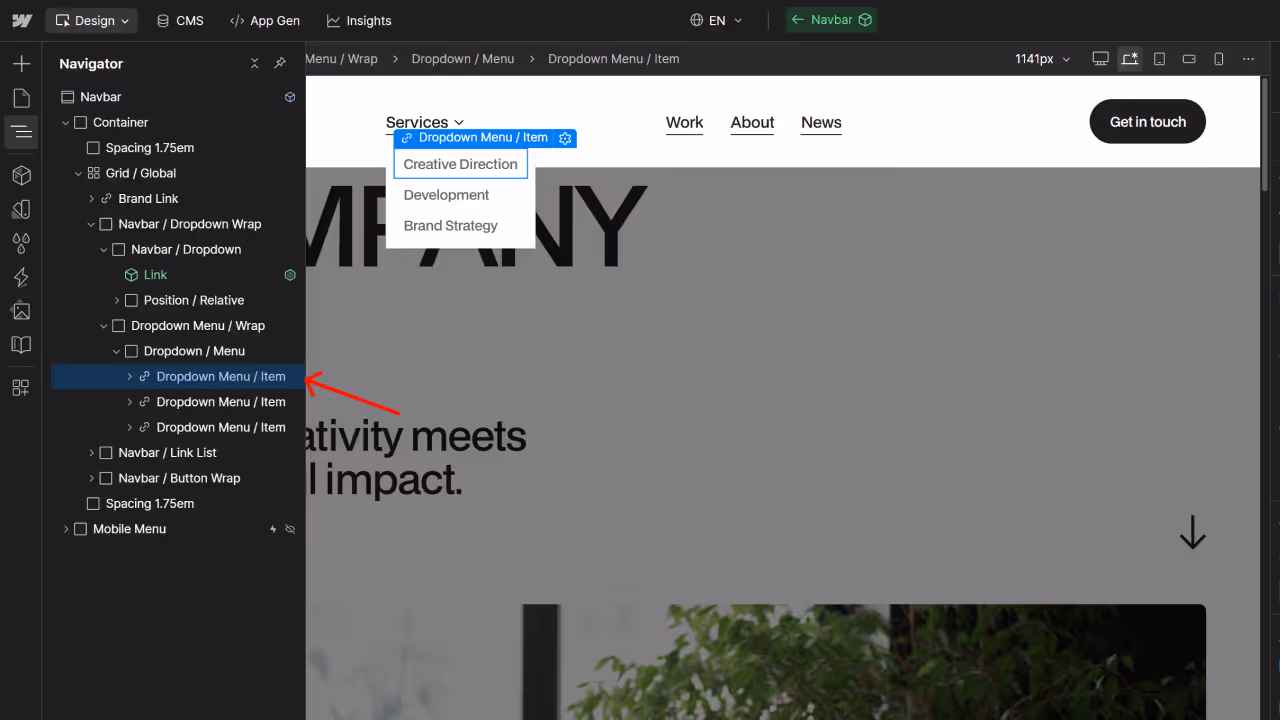
How to Edit Dropdown Links
Step 1: Select the Link to Modify
In the Navigator, expand Dropdown / Menu under Dropdown Menu / Wrap
Click on the Dropdown Menu / Item link you want to edit (e.g., "Creative Direction")
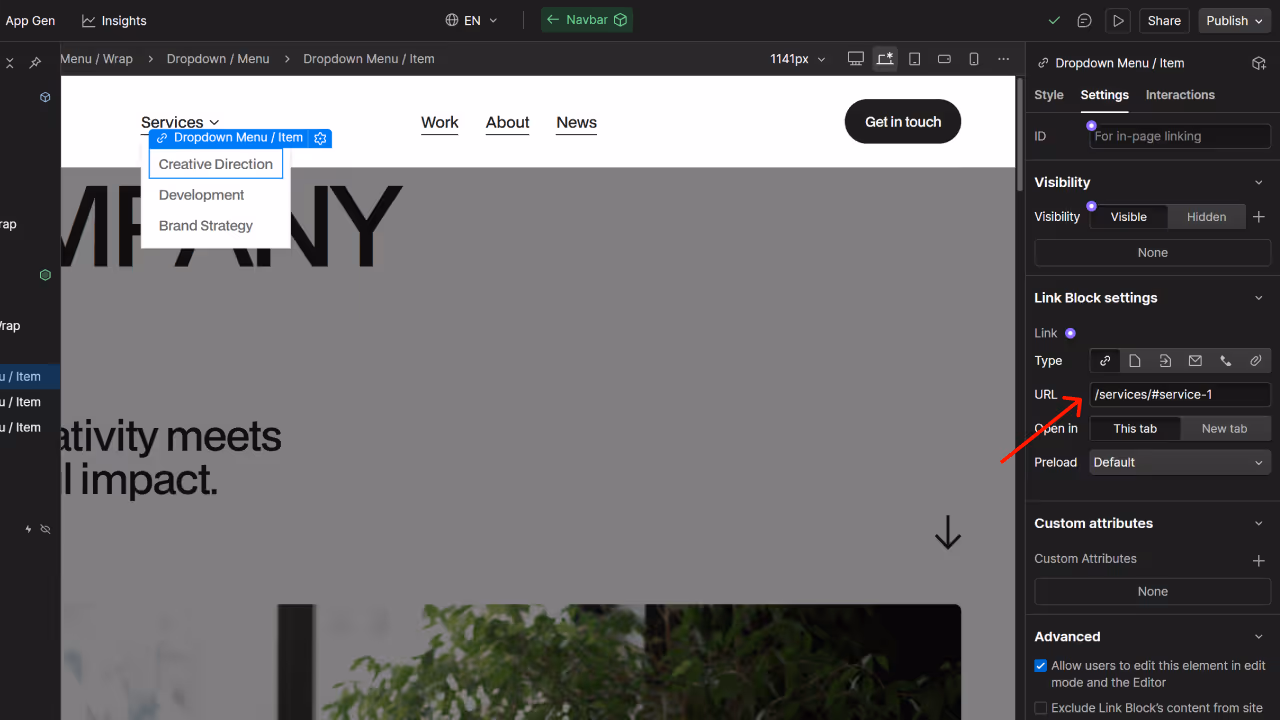
Step 2: Update the Link URL
With the link selected, open the Settings tab in the right sidebar
Find Link Block settings → URL
Enter the path in this format: /services/#service-1
/services/ = the Services page
#service-1 = the ID of the service section to jump to
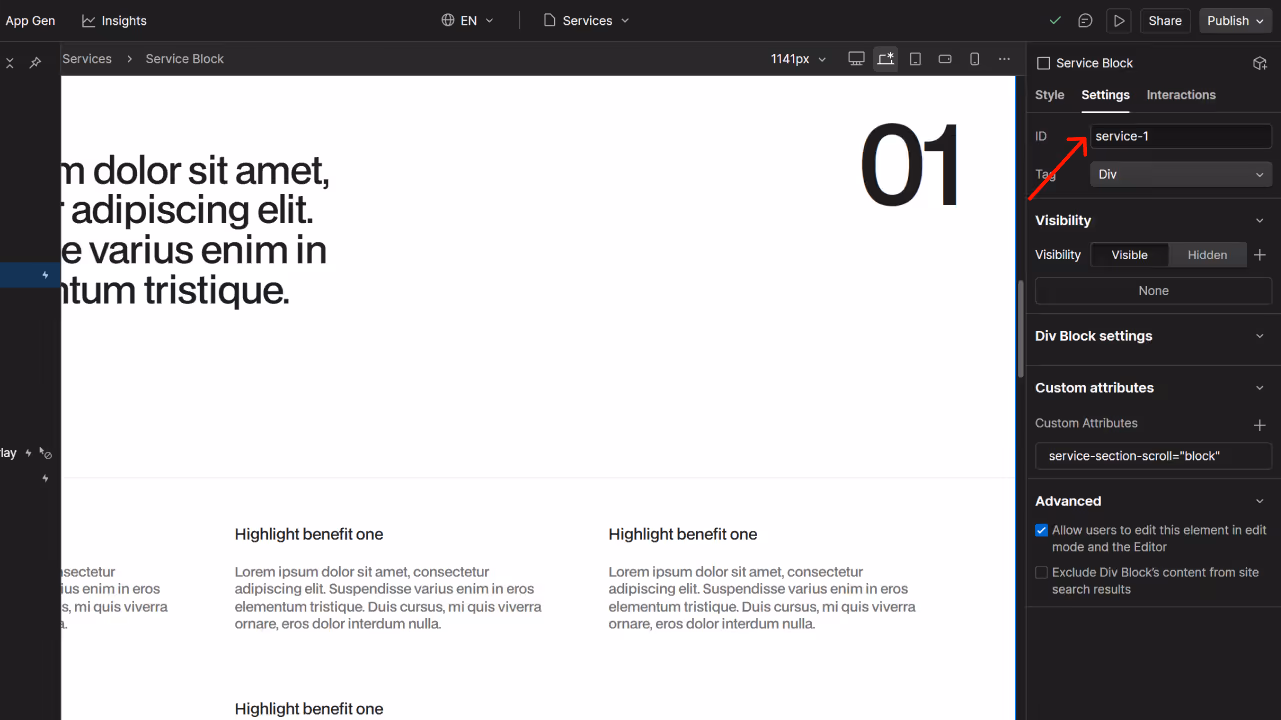
Step 3: Match IDs to Service Sections
Each service section on the Services page has a unique ID:
Navigate to the Services page
Select a Service Block in the Navigator
Check the Settings tab → ID field (e.g., "service-1")
Use this exact ID in your dropdown link URL
Pro Tips
ID format matters: The # symbol is required before the ID. For example: /services/#service-2
Adding new services? When you create a new Service Block, give it a unique ID in the Settings tab, then create a matching dropdown link using that ID.


.avif)


.svg)